My name is Ashley, and I am obsessed with Facebook Marketplace.
This obsession started just over a month ago, largely due to my 14-year-old sending me links to awesome things, and it reached a fever pitch last weekend when I convinced my husband to randomly rent a U-Haul pickup truck in the middle of the day and drive 45 minutes each way to pick up a free table I found.
I know. I KNOW. Let’s get into it.
I happened to be scrolling Marketplace in the morning when I saw the table go up. I’ve been looking for a round, solid wood table for our dining room for a while, and I was hoping to find one used, with character and charm and history, rather than buying something new.
Suddenly, there she was. And she was listed for free.
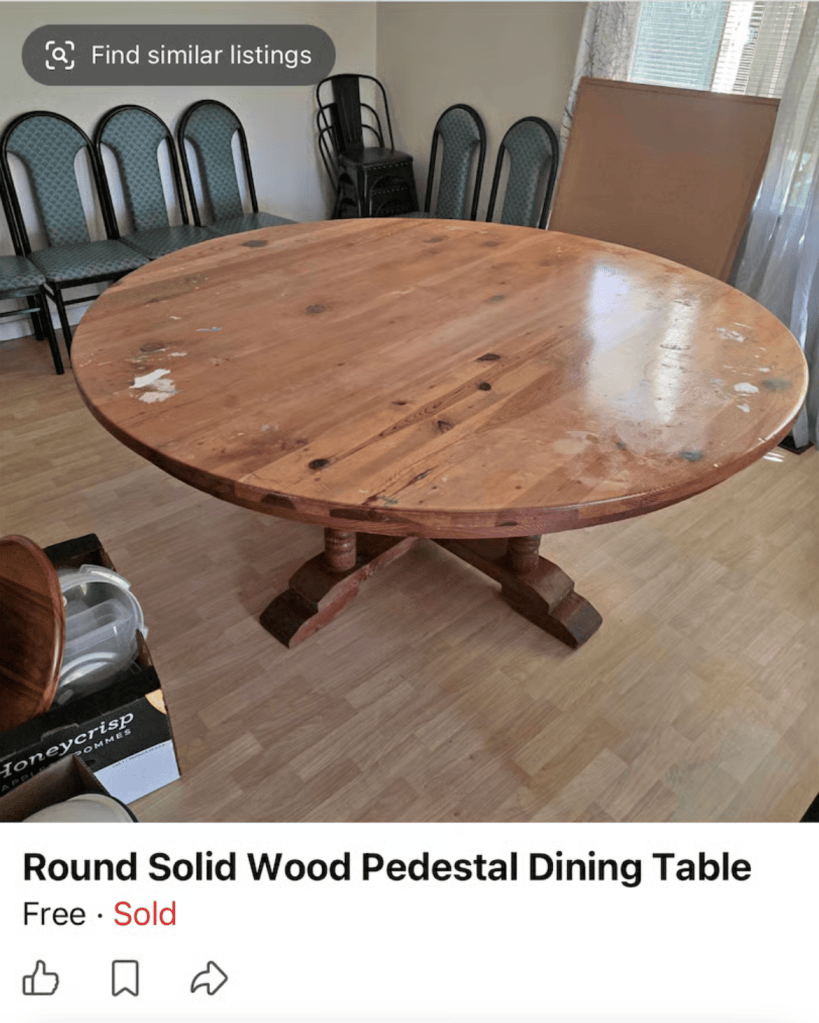
I messaged the seller right away, and she said it was mine if I could arrive before 3 P.M. I have ADHD and poor impulse control, so this was the kind of moment I’ve been preparing for my whole life. I immediately started looking for a truck to rent and told my husband we had to take an impromptu field trip to move a 71-inch wide table I just found for free on the internet, stat.
Because of my aforementioned ADHD and poor impulse control, I estimated pick-up would take, oh, I don’t know, like, two hours total? Instead, it took about an hour just to get the truck. Then, we fought traffic out to the person’s house. She wanted us to take the table out through the garage door, but it wouldn’t fit, so we had to take the tabletop off of the legs. Then, it still wouldn’t fit, so we had to drag it out the wider front door instead.
We loaded each piece into the truck and spent like 30 minutes fighting with the tension straps we’d brought to anchor it down. We drove home. We hauled it onto the driveway. We filled the rented U-haul with gas and returned it to the rental place.
Our two-hour table pick-up took more like four or five hours. And, rather than being free, I spent $89 on a U-Haul and then another $40 on gas. But that’s OK because she was finally in my driveway and ready for a makeover.

My favorite part of working on an older house is the interesting people we meet every time we do a project, and this was no exception. The woman giving the table away told us she runs a group home for disabled adults. They’re like a family, and this table had been their art and gathering space for 13 years. She was sad to see it go, but they were moving to a new house with some new things and just didn’t need it anymore.
I told her how much I loved knowing the table was infused with love and joy, and I promised I’d take good care of it. That became my weekend project.
Step 1: Cleaning and Sanding
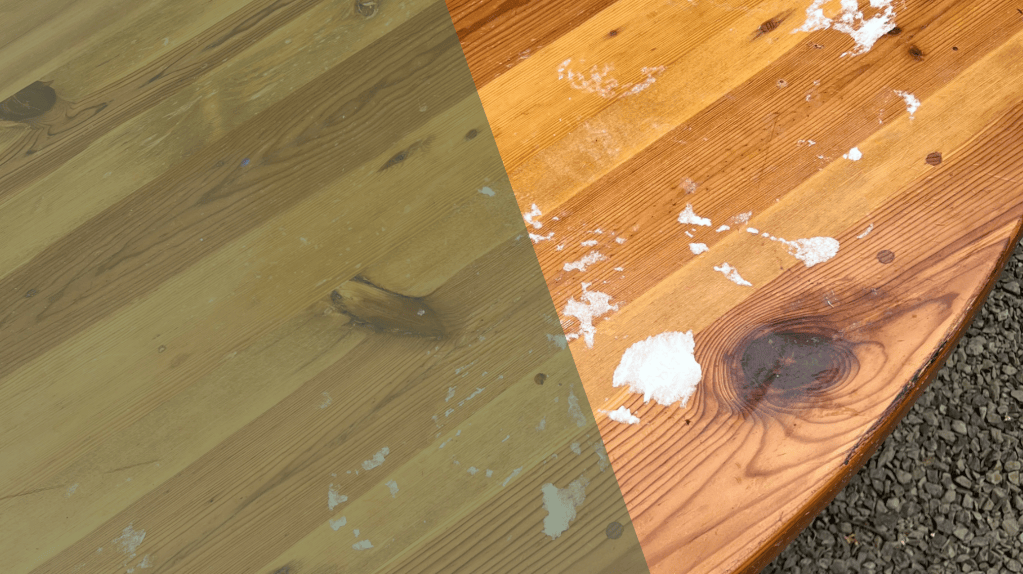
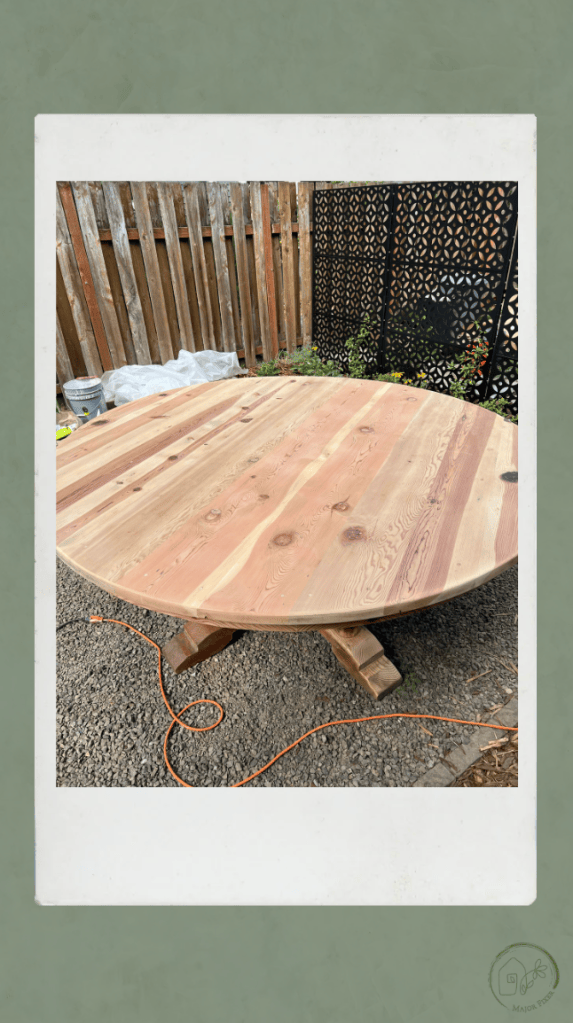
I started the project by cleaning the table, and then using Goo Gone on the leftover glue and paper stuck to the tabletop. After that, I went at it with a rotary sander. I worked on the top first, then the legs. I had to sand the smaller grooves and intricate parts by hand. It took most of the day to get the surface ready to stain.
Step 2: Staining and sealing the table
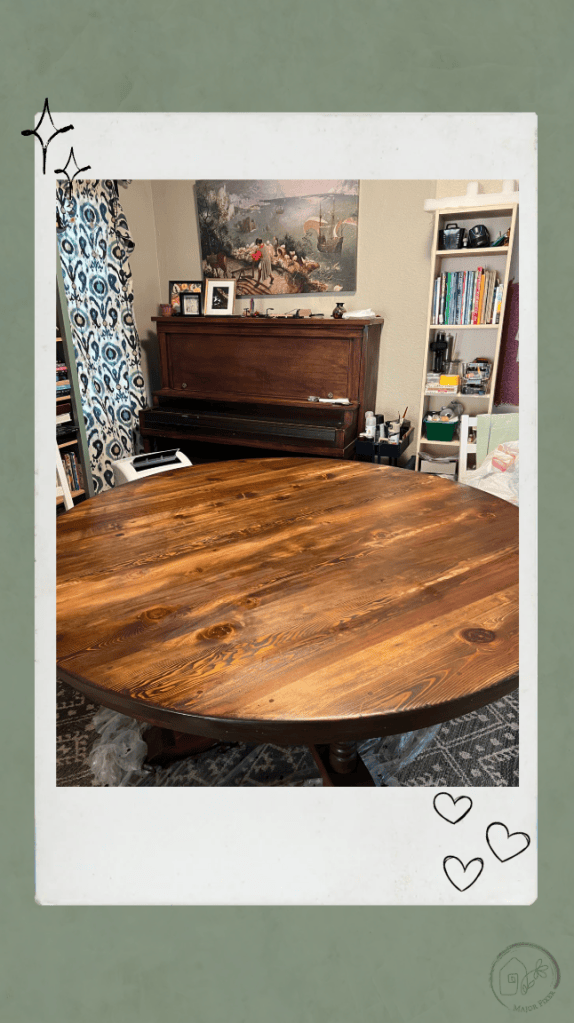
I cleaned the dust off of the table, wiped it down, and let it dry overnight. The next morning, it was time for stain. The table is pine, which doesn’t always take stain well and can end up with a pretty uneven finish, so gel stain is generally recommended for best results. I am usually a Minwax girl, but I used Varathane this time. To be honest, I still prefer Minwax, but the alternative brand wasn’t bad.
The table is enormous, so staining took a few hours. I used a paint brush to put it on, let it sit for about five minutes, and then wiped clean. I went section by section so nothing would dry out or be left to sit and get too dark. The last step—after the stain was fully dried according to the instructions on the can—was polyurethane. I used a wipe-on and applied three coats, sanding between each one.
It wasn’t a small project, but I’ve definitely spent weekends working on much harder things, and I’m thrilled with how it turned out.
A DIY table re-do cost breakdown
Ultimately, I loved this project. I’m typing this at my gorgeous new-old table right now. But I also think it’s important to be transparent about how these DIY projects actually go, since people so often post a 45-second highlight reel on TikTok that makes it look like the easiest, cheapest thing in the world.
So, if you’re keeping score at home, it was a three-day project (and it probably would have taken longer if I didn’t already have most of the materials and know what I was doing).
Here’s the final tally of how much I spent on my “free” kitchen table:
- U-Haul rental: $89 plus $40 for gas
- 1 quart Varathane Gel Stain: $24.98
- Minwax Fast-Drying Polyurethane: $16.48
- Gorilla Wood Filler: $9.99
- TOTAL: $180.45
I also used a rotary sander, sandpaper, staining rags, a paint brush, a plastic tarp, and I wore a respirator and goggles throughout most of the process. I already had these items on hand, but if you’re doing a project like this and don’t already have them, plan to spend at least $200 attaining them (unless you rent a sander, which is a great option. Renting tools is AMAZING.)
In the end, nothing is really “free.” But I got a great table with a beautiful history and gave it a new chance to continue its story. I met a really cool woman who is doing lovely things in this world. I got to spend a day goofing off with my husband while I dragged him along on crazy errands (one of our favorite past times).
All in all, I’d say it was money and time well-spent.


Leave a Reply